Cisco Autonomous Wireless Network - Home style configuration
Introduction:
In one of the previous posts I covered how to set up a Cisco router in a 'standard' home configuration. (see HERE).
If you've followed this (or otherwise) it may be desirable to follow this through with a wireless solution. This post will cover a generic setup of an autonomous access point to use for 2.4ghz and 5ghz wireless service on a flat L2 network.
The AP in question is one I have worked with quite a lot, the Cisco Aironet 2702I
Implementation:
For a pre-requisite it is worth reading THIS post on how to re-image an access point to the correct version of code. For this post I'll be using an autonomous (standalone, without use of a Wireless LAN Controller) image. These images can be identified by the w7 lettering contained within the code version e.g. ap3g2-k9w7-tar.153-3.JD.tar (Latest code at the time of writing). For the remainder of this guide I'll assume that the AP has been imaged and is awaiting configuration.
I have covered this in the above post however the default credentials for autonomous APs are User: cisco Password: Cisco which will be important when connecting to the AP for the first time.
There are a few basic steps to the configuration of a basic SSID (we're not talking multiple SSIDs for VLANs etc, that's beyond the scope of this guide, however the basics are covered below). Sub-tasks are nested.
- The SSID itself
- Authentication parameters
- Broadcasting
- Dot11 (radio) Interfaces
- Transmit power
- Channels
- SSID association
- Encryption
- Misc
- IP addressing
- HTTP GUI
Cisco autonomous APs by default ship with a built in web GUI which can be used for basic configuration. Personally I prefer the CLI as it's more responsive and I can achieve what I need to without randomly clicking on pages hoping what I am looking for is in there, if you wish to play with the GUI go for it, but I'm not going near it with a barge pole.
SSID Configuration
The first step is to get the SSID configured, this is basic enough and looks as follows:
ap>
ap>
ap>en
Password:
ap#
ap#
ap#conf t
Enter configuration commands, one per line.  End with CNTL/Z.
ap(config)#dot11 ssid dchidell
ap(config-ssid)#authentication open
ap(config-ssid)#authentication key-management wpa version 2
ap(config-ssid)#wpa-psk ascii ciscowireless
ap(config-ssid)#guest-mode
ap(config-ssid)#band-select
ap(config-ssid)#
This is all there is to the SSID configuration! We'll go through this line by line:
dot11 ssid dchidell - The name of the SSID itself which will appear on your wireless device. This allows us to enter configuration mode for the SSID.
authentication open - The authentication mechanism is open for the first phase of negotiation.
authentication key-management wpa version 2 - Second phase we're going to use a static key for authentication. This is the standard 'home environment' wireless password you're used to.
wpa-psk ascii ciscowireless - This sets the actual password for the network where ciscowireless is our password.
guest-mode - This is the most un-intuitive thing, but does make sense. This makes the AP broadcast beacons containing the ESSID (the network name) so it will actually appear in your wireless device. If you don't set this, you won't even see your network and will have to manually program in the information (if used in an enterprise environment wireless configuration may be pushed to a device through a group policy, meaning end users never have to connect themselves - hence the 'guest mode').
band-select - This makes the AP delay responses on the 2.4GHz range so clients prefer to authenticate to 5GHz where possible.
Radio Configuration
Next up is the wireless interface configurations. I will first start with the 2.4ghz radio:
ap#
ap#conf t
Enter configuration commands, one per line.  End with CNTL/Z.
ap(config)#int dot11Radio 0
ap(config-if)#station-role root
ap(config-if)#encryption mode ciphers aes-ccm
ap(config-if)#ssid dchidell
ap(config-if)#channel least-congested 1 6 11
ap(config-if)#power client max
ap(config-if)#power local max
ap(config-if)#no shutdown
I've actually included a little more than is needed here, some of these options are enabled by default but I've illustrated them as they are quite important.
int dot11Radio 0 - The 2.4ghz radio is ALWAYS 0 and the 5ghz is 1. Be careful using shortcuts, the best one I've come across is simple int d0 and int d1 for 2.4 and 5ghz respectively.
station-role root - This sets the mode of the radio interface to serve clients as a a root access point. This is the default mode.
encryption mode ciphers aes-ccm - This sets the encryption cipher used on the radio interface. To align with the best security standards and for the best data rates combine WPA2 authentication (configured on the SSID) with AES encryption (configured on the interface).
ssid dchidell - Link the radio interface to our previously configured SSID.
channel least-congested 1 6 11 - The 2.4ghz spectrum is a right royal mess, and to use it to the best of our avilities we'll allow the AP to pick the best channel to use and restrict it to the 3 non-overlapping channels of 1 6 or 11.
power local max - We've only got one AP so we want to maximise the power to get the best range possible, in a WLC environment power levels need to be carefully monitored so clients join the best AP. For a standalone AP, we've got no such problem, crank that power right up. This power command governs the transmit power of the AP itself.
power client max - This is the requested tx power of clients, best to keep this high to improve range.
no shutdown - If you've got this far and don't know what this means, you might want to look elsewhere! Brings up the radio interface (radio interfaces, like routed interfaces, are disabled by default).
Now onto the 5ghz radio. Most options are the same, so I will highlight only those which are different:
ap#
ap#conf t
Enter configuration commands, one per line.  End with CNTL/Z.
ap(config)#int d1
ap(config-if)#station-role root
ap(config-if)#encryption mode ciphers aes-ccm
ap(config-if)#ssid dchidell
ap(config-if)#channel dfs
ap(config-if)#channel width 80
ap(config-if)#power client max
ap(config-if)#power local max
ap(config-if)#no shutdown
As you can see, we've actually only got one difference, and that's how our channels are assigned:
channel dfs - This allows the AP to use DFS (dynamic frequency selection) channels, and the AP will automatically move away from a channel if it detects a radar installation operating on it. More information about DFS can be found HERE.
channel width 80 - This is a 802.11ac compatible AP. This command sets the channel width to 80mhz, allowing the full capability of 802.11ac (wave 1) to be used. The default width is 20mhz, meaning an 80mhz width consumes 4 channels in the 5ghz range. This command is essential if you want to achieve high throughput.
Misc Configuration
Now your AP should be working and visible to your clients. But I'll cover a few more bits and pieces below, just in case you want a little more info.
Clients are bridged onto the L2 network the AP is plugged into. Other services (DHCP, DNS, routing etc) must be taken care of elsewhere in the network.
By default the AP will attempt to obtain an IP address via DHCP. The AP works on a bridging principle (also by default) which can actually be seen if you look at the running configuration (irrelevant output has been removed):
bridge irb
!
!
!
interface Dot11Radio0
 no ip address
 shutdown
 !
 encryption mode ciphers aes-ccm
 !
 ssid dchidell
 !
 antenna gain 0
 stbc
 channel least-congested 2412 2437 2462
 station-role root
 bridge-group 1
 bridge-group 1 subscriber-loop-control
 bridge-group 1 spanning-disabled
 bridge-group 1 block-unknown-source
!
!
!
interface GigabitEthernet0
 no ip address
 duplex auto
 speed auto
 bridge-group 1
 bridge-group 1 spanning-disabled
 no bridge-group 1 source-learning
!
!
!
interface BVI1
 ip address dhcp client-id GigabitEthernet0
 ipv6 address dhcp
 ipv6 address autoconfig
 ipv6 enable
!
Since this guide is designed for a flat home network, as soon as you plug the AP in the BVI1 interface will gain an IP via DHCP, most likely this is fine. But if you wish to gain entry into the AP at a later date it might be better to configure a static address. This is the standard ip address ip mask command under int bvi1.
Okay, I said I wasn't going near it with a barge pole...but onto the web GUI. The GUI can be accessed by entering the AP's IP into a web browser. The credential prompt will use the default credentials of cisco/Cisco. This is as far as I'm willing to go in terms of the GUI, but to cater for interest, below is a screenshot:
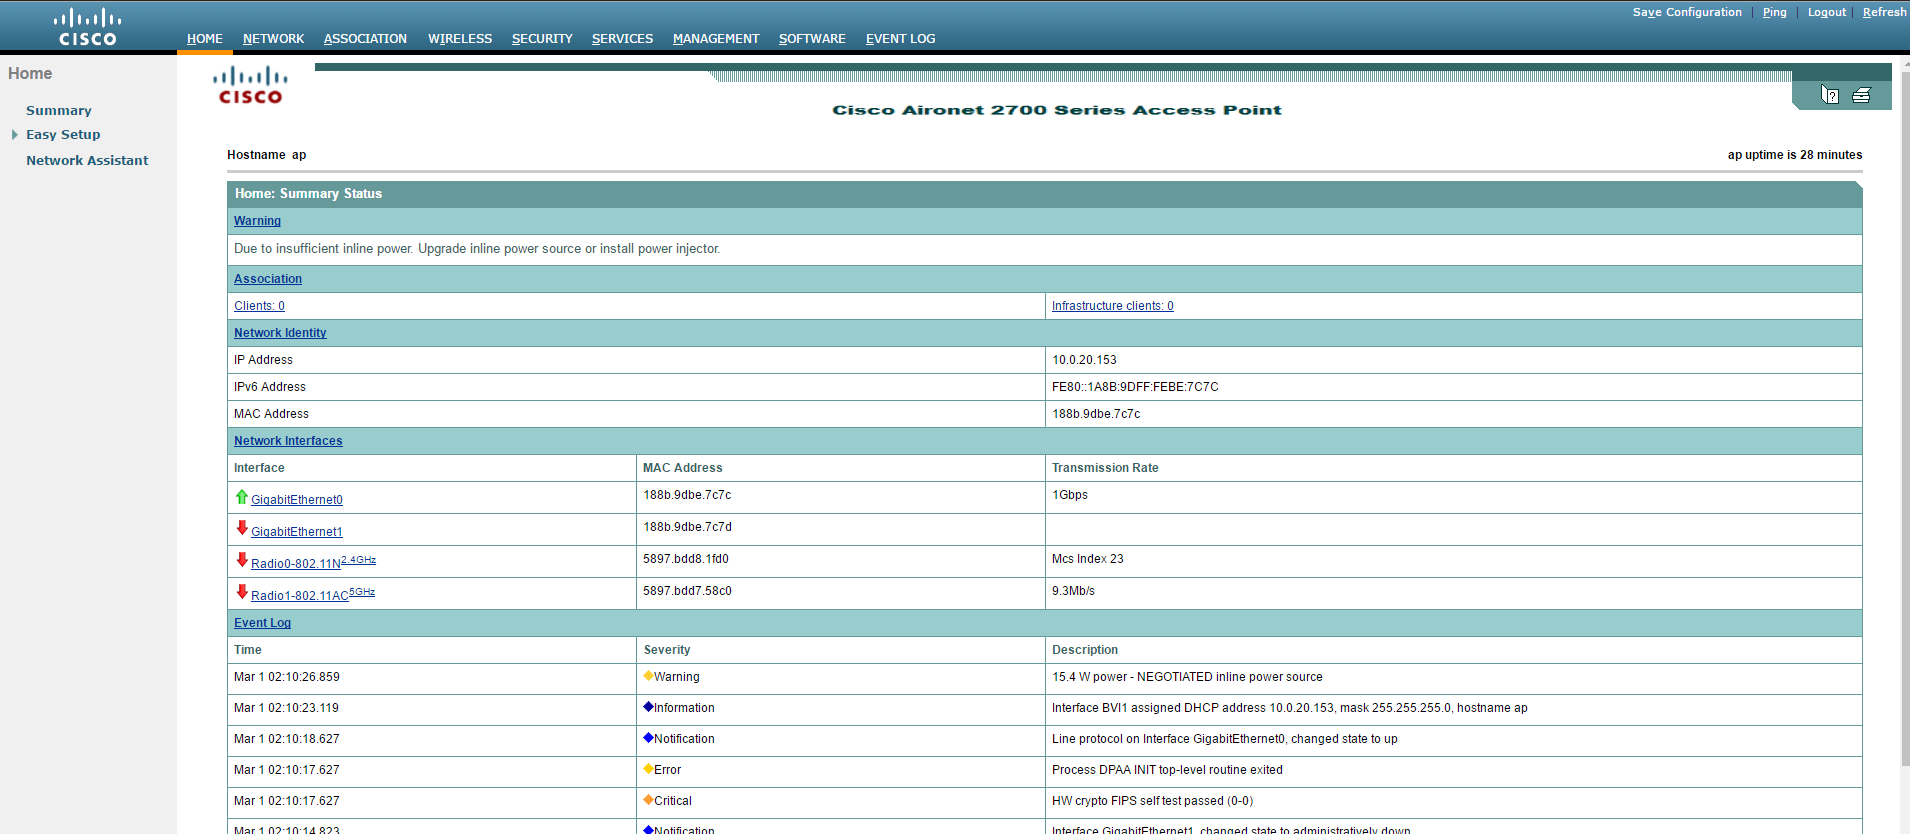
Other than that, you've got access to the same style commands as available on most other Cisco platforms for authentication and other customisation options.
Full Configuration:
!
dot11 ssid dchidell
 authentication open
 authentication key-management wpa version 2
 wpa-psk ascii ciscowireless
 guest-mode
 band-select
!
!
!
interface Dot11Radio0
 no ip address
 shutdown
 !
 encryption mode ciphers aes-ccm
 !
 ssid dchidell
 !
 antenna gain 0
 stbc
 channel least-congested 2412 2437 2462
 station-role root
 bridge-group 1
 bridge-group 1 subscriber-loop-control
 bridge-group 1 spanning-disabled
 bridge-group 1 block-unknown-source
!
!
!
interface Dot11Radio1
 no ip address
 shutdown
 !
 encryption mode ciphers aes-ccm
 !
 ssid dchidell
 !
 antenna gain 0
 stbc
 channel dfs
 channel width 80
 station-role root
 bridge-group 1
 bridge-group 1 subscriber-loop-control
 bridge-group 1 spanning-disabled
 bridge-group 1 block-unknown-source
!
interface GigabitEthernet0
 no ip address
 duplex auto
 speed auto
 bridge-group 1
 bridge-group 1 spanning-disabled
 no bridge-group 1 source-learning
!
!
!
interface BVI1
 ip address dhcp client-id GigabitEthernet0
 ipv6 address dhcp
 ipv6 address autoconfig
 ipv6 enable
!